My concrete pad was poured the third week of May. Being a school principal, the end of May coincides with the beginning of the busiest time of a busy year. I knew would have to wait until July to begin building my steel garage. School would require all of my attention in June. I did have a rough timeline in mind:
July:
1. Attach base plates
2. Assemble arches
3. Erect arches
4. Frame and insulate end walls
5. Backfill with 7/8 washed gravel
August:
1. Insulate building
2. Wiring
3. Install garage doors
The Decision to use Base Plates
You can save on the overall cost of a steel building by not ordering base plate connectors. Base Plate connectors are simply a steel plate 7-10 inches wide that attaches to your concrete footer or pad via embedded bolt or expanding concrete anchors. If you opt not to use base plate connectors, you have to create a “u” channel in your concrete at the time of pouring. Your steel arches then fit into this channel and attach to the concrete via a piece of angle iron. You must also grout over top of the base of the arches once embedded into the “u”channel. I didn’t like this set up for the for the following reasons:
1. Added complexity at the time of pouring concrete. It seemed to me that framing for and creating the “u” channel would be an annoyance and probably end up costing more in labour at the time of pouring the concrete pad.
2. The “u” channel would have to be perfect. Otherwise, the steel arches would be wonky.
3. Grouting after the fact would be a pain and not likely as waterproof as the steel base plate connectors.
4. Moving the building or reconfiguring the building would be much easier with the base plates rather than the permanent grouting of the steel arches.
Installing the Base Plates
Installing the base plates was simply a matter of laying out the plates on the concrete pad, ensuring that they were square on the foundation and then drilling the anchor holes. Squaring up the plates was accomplished by cross measuring across the foundation and making sure that the measurements were the same. I also used a transit to double check my straight lines. After putting the base plates in position, I took a vertical line with the transit just to make sure that what I thought was straight was actually straight.
Drilling holes in the concrete was problematic at first. I had a Dewalt hammer drill and concrete bit but discovered upon drilling my first hole that I couldn’t even drill one hole let alone the 82 that were required. Each 1/2 hole had to be drilled to 4.5 inches depth and then anchor bolts installed. As I researched my problem with drilling holes in concrete, this video surfaced.
It was clear that I needed a rotary hammer drill. I made a couple of calls, rented one for a week and drilling the holes for the anchor bolts turned out to be quite easy. Just an FYI, I should have purchased a rotary hammer drill. The cost for renting one for a week turned out to be similar to purchasing a new one.
The drills to the left are hammer drills. They are completely useless for drilling into concrete. The drill to the far right is the rotary hammer drill that I rented. It made drilling into concrete as easy as drilling into wood. Another technique that is absolutely necessary when drilling into concrete, is that you have to use your shop vac and air compressor and vacuum and blow out each hole.

With that, I put the base plates down, drilled 82 holes and dropped in 5.5 inch 1/2 inch bolts. A little tip here is to use two nuts on each bolt. You will squash the bolt as you pound it into the concrete. If you only have one nut, it may not travel all the way down the threads to tighten properly. I suggest putting one nut near the bottom and another at the top, even with the threads. Pound the bolt in using the first nut and then tighten the anchor using the nut at the base. You can then spin the top nut off using an impact wrench or cut it off if the bolt is damaged. According to manufacturer recommendations, each anchor bolt was then tightened to 60 foot pounds using a torque wrench.
Please note that Future Steel Buildings does not supply anchor bolts. This an added cost and 82 bolts of that size will run you around 300 dollars. Ouch!
Here is the pad with the base plate connectors attached. You can see them along the side square and ready for attaching the arches. I also caulked along the bottom just to make it neater.
You might also notice the puddles of water. As good as the concrete job was, there were still places that were slightly lower as a result of the final trowelling job. There was one low spot exactly where the base plate connector needed to go. I had to cut some metal shims and insert them under the connector here in order to keep the base plate connector level.


With the base plate connectors in, I was ready for the arches.
Deciding on a foundation was not as easy I thought. The problem is that in our area concrete is well over 200 dollars per cubic meter. At that price, having a concrete pad for a garage immediately becomes about a third of the overall cost of the project. Building concrete footers with a gravel pad would have been cheaper but ultimately not very convenient for a heated garage. In the end, I decided to go with a concrete pad and industrial base plate connectors for the building.
Now, when I grew up the farm, I would have just gone to the shop started up the tractor and begun excavating. Not having access to that equipment means renting equipment or hiring someone. As much as I wanted this to be a DIY project, I decided to hire someone to do the concrete work. Also, growing up I always had access to gravel. We either had it stockpiled, or had veins of gravel that could be dug up somewhere on our farm. In addition to hiring someone to do the concrete, I had to find gravel.
I hired Joel Funk and Strong Built Construction from Wymark, Saskatchewan to excavate the site, build the forms and pour and finish the concrete. It turns out that there was an old garage on my build site that had about 4-5 cubic metres of gravel. I needed about 10 and was able to purchase 6 cubic metres from a stockpile that a farmer had in Vanguard.
Just prior to pouring the concrete, I had toyed with the idea of putting in-floor electric heating cable (embedded in the concrete) from a company called flex-therm. The company estimated that I would need about 7300 watts to heat the building and that the cost would have been around 2000 dollars for the installation. Before I made the investment, I had electricians come out to survey the site and put together an estimate for the later wiring of the building. When I asked about flex-therm, neither electrician had heard of the product. They were sceptical that it would heat the building but told me they would look into it. After a couple of days one of the electricians called me back and advised against flex-therm for this particular purpose. He didn’t think it would work as a primary heat source for a building this size and height in our climate. Needles to say, I didn’t take a chance on the flex-therm product this time. The upside was that I saved 2K, plus pouring the concrete pad was a much easier process.
Excavation of the site began the second week of May. Gravel was hauled in, and forms built soon thereafter. After waiting for some sunny days in the forecast, the concrete arrived, was poured an finished. Unfortunately I didn’t get to see most of this process, as I was at work. One day, I came home and the pad was just there.
Here is what the process looked like.
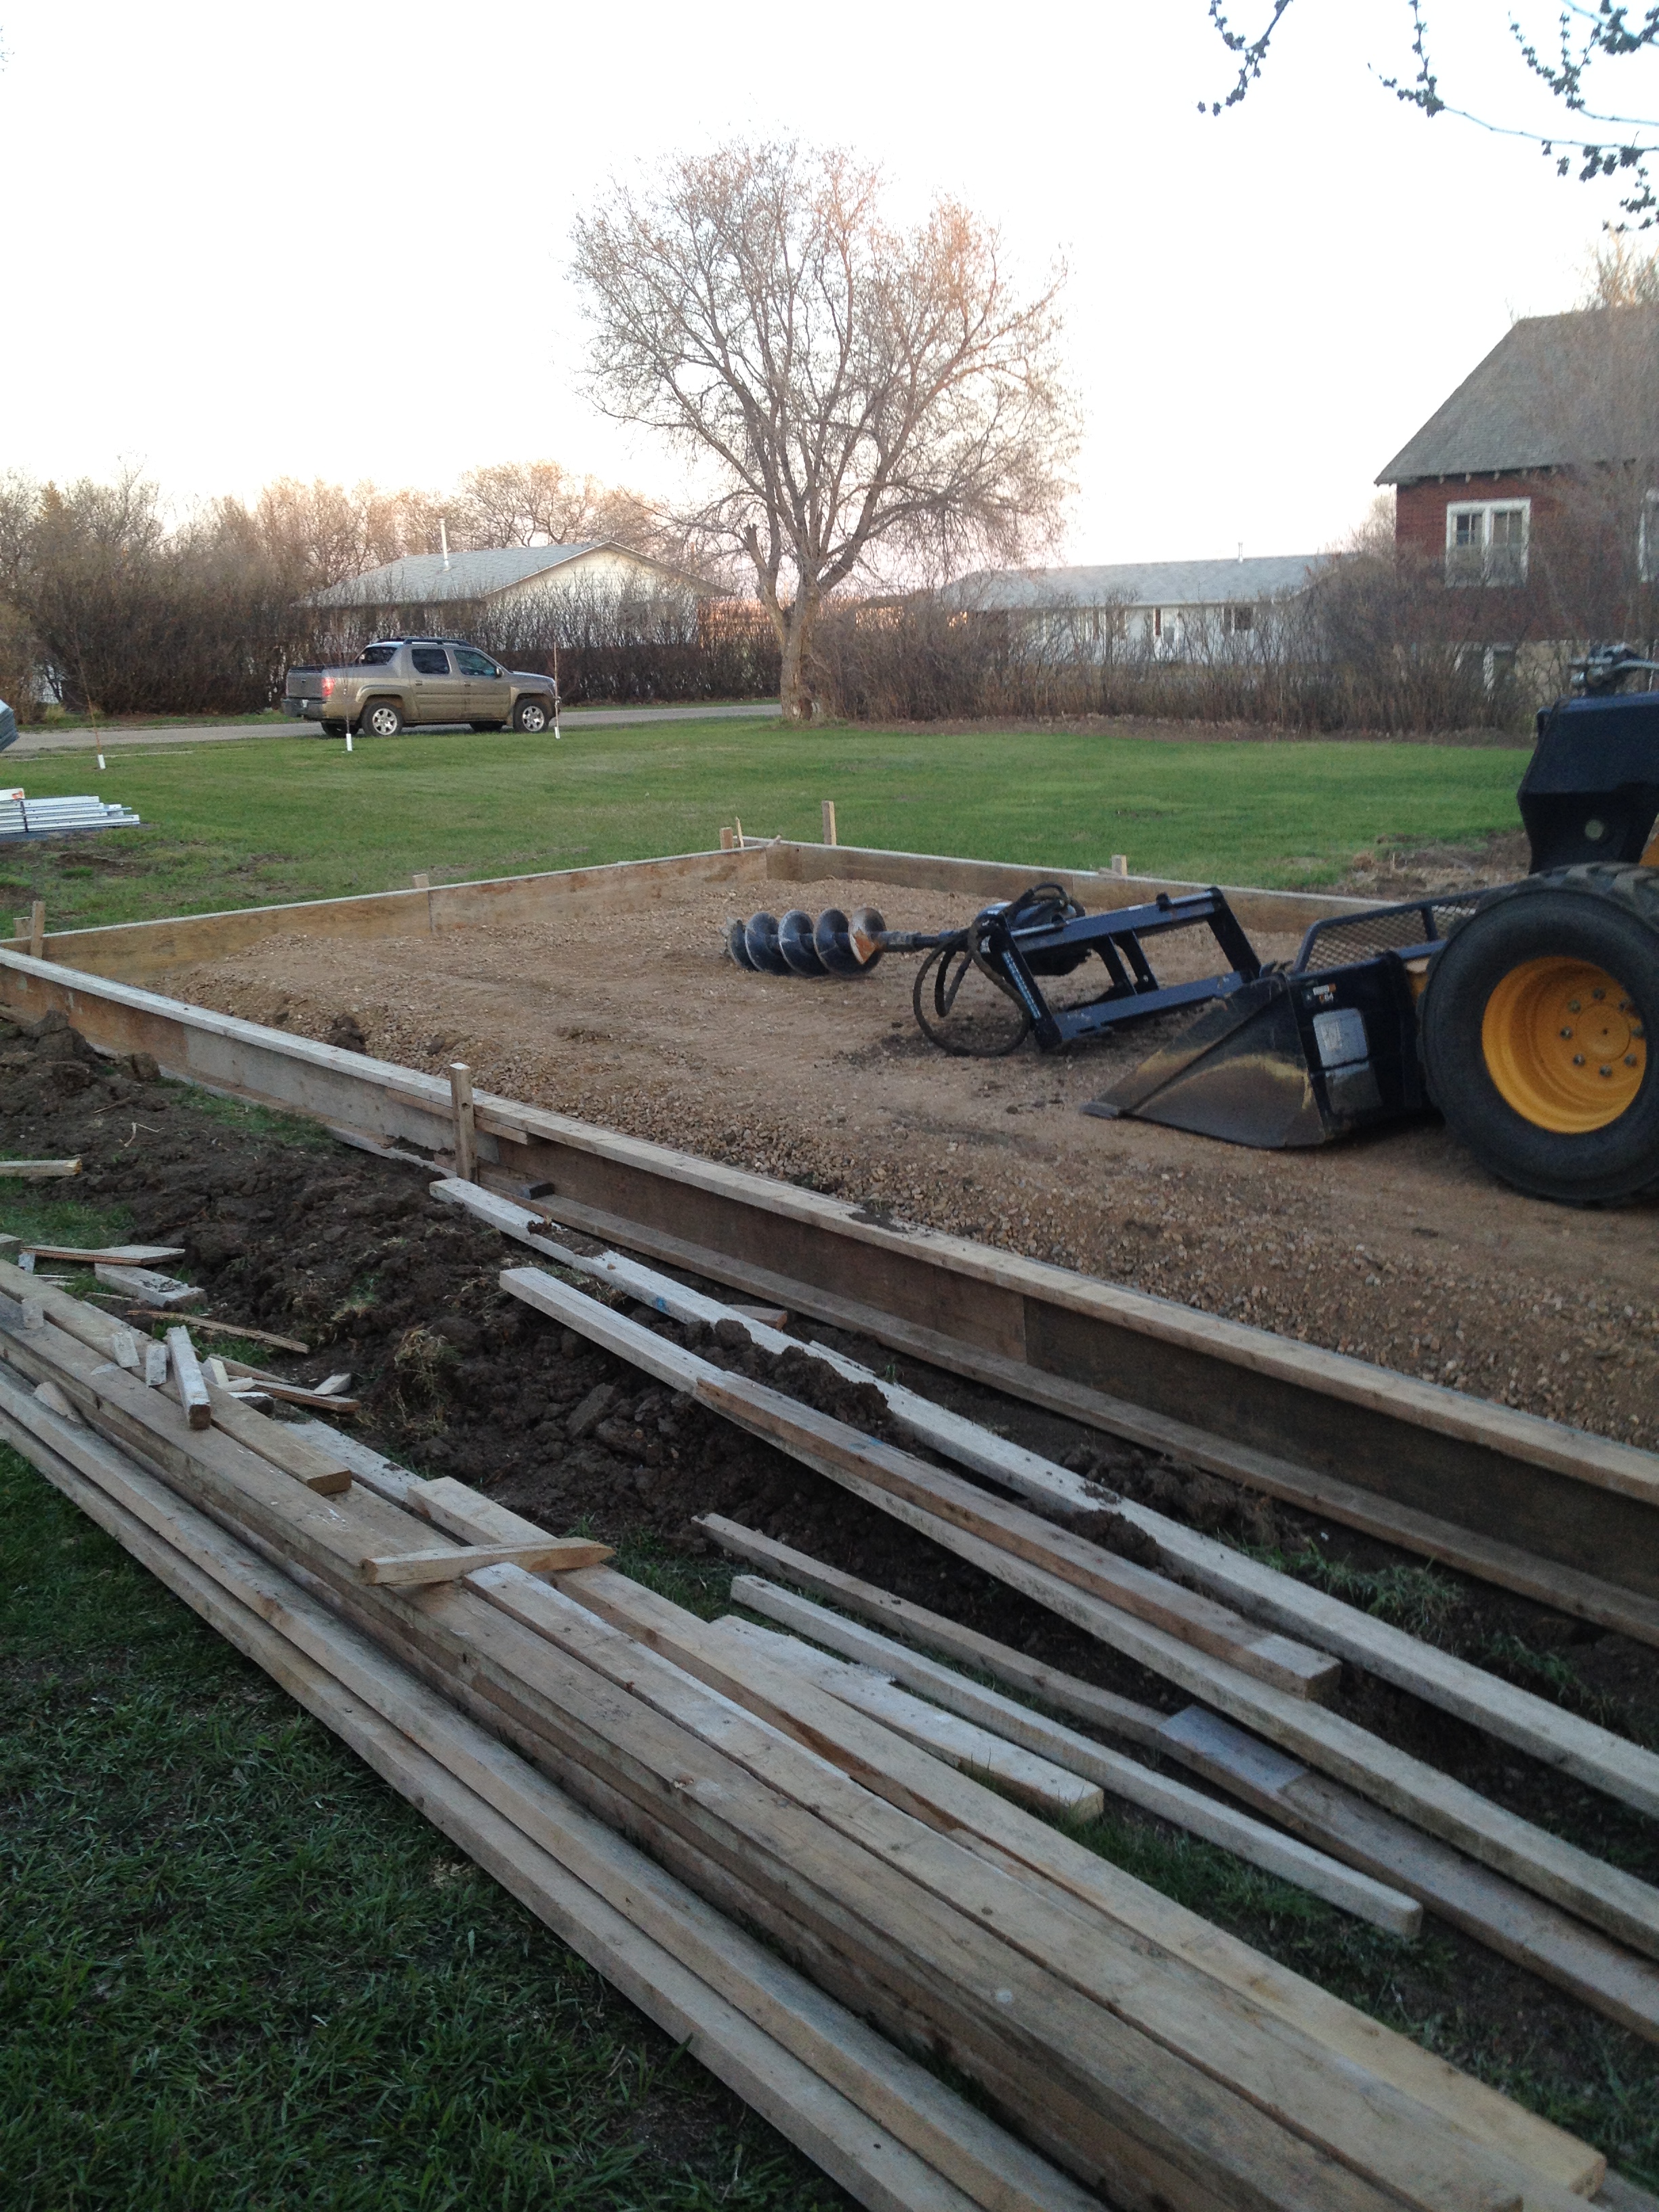
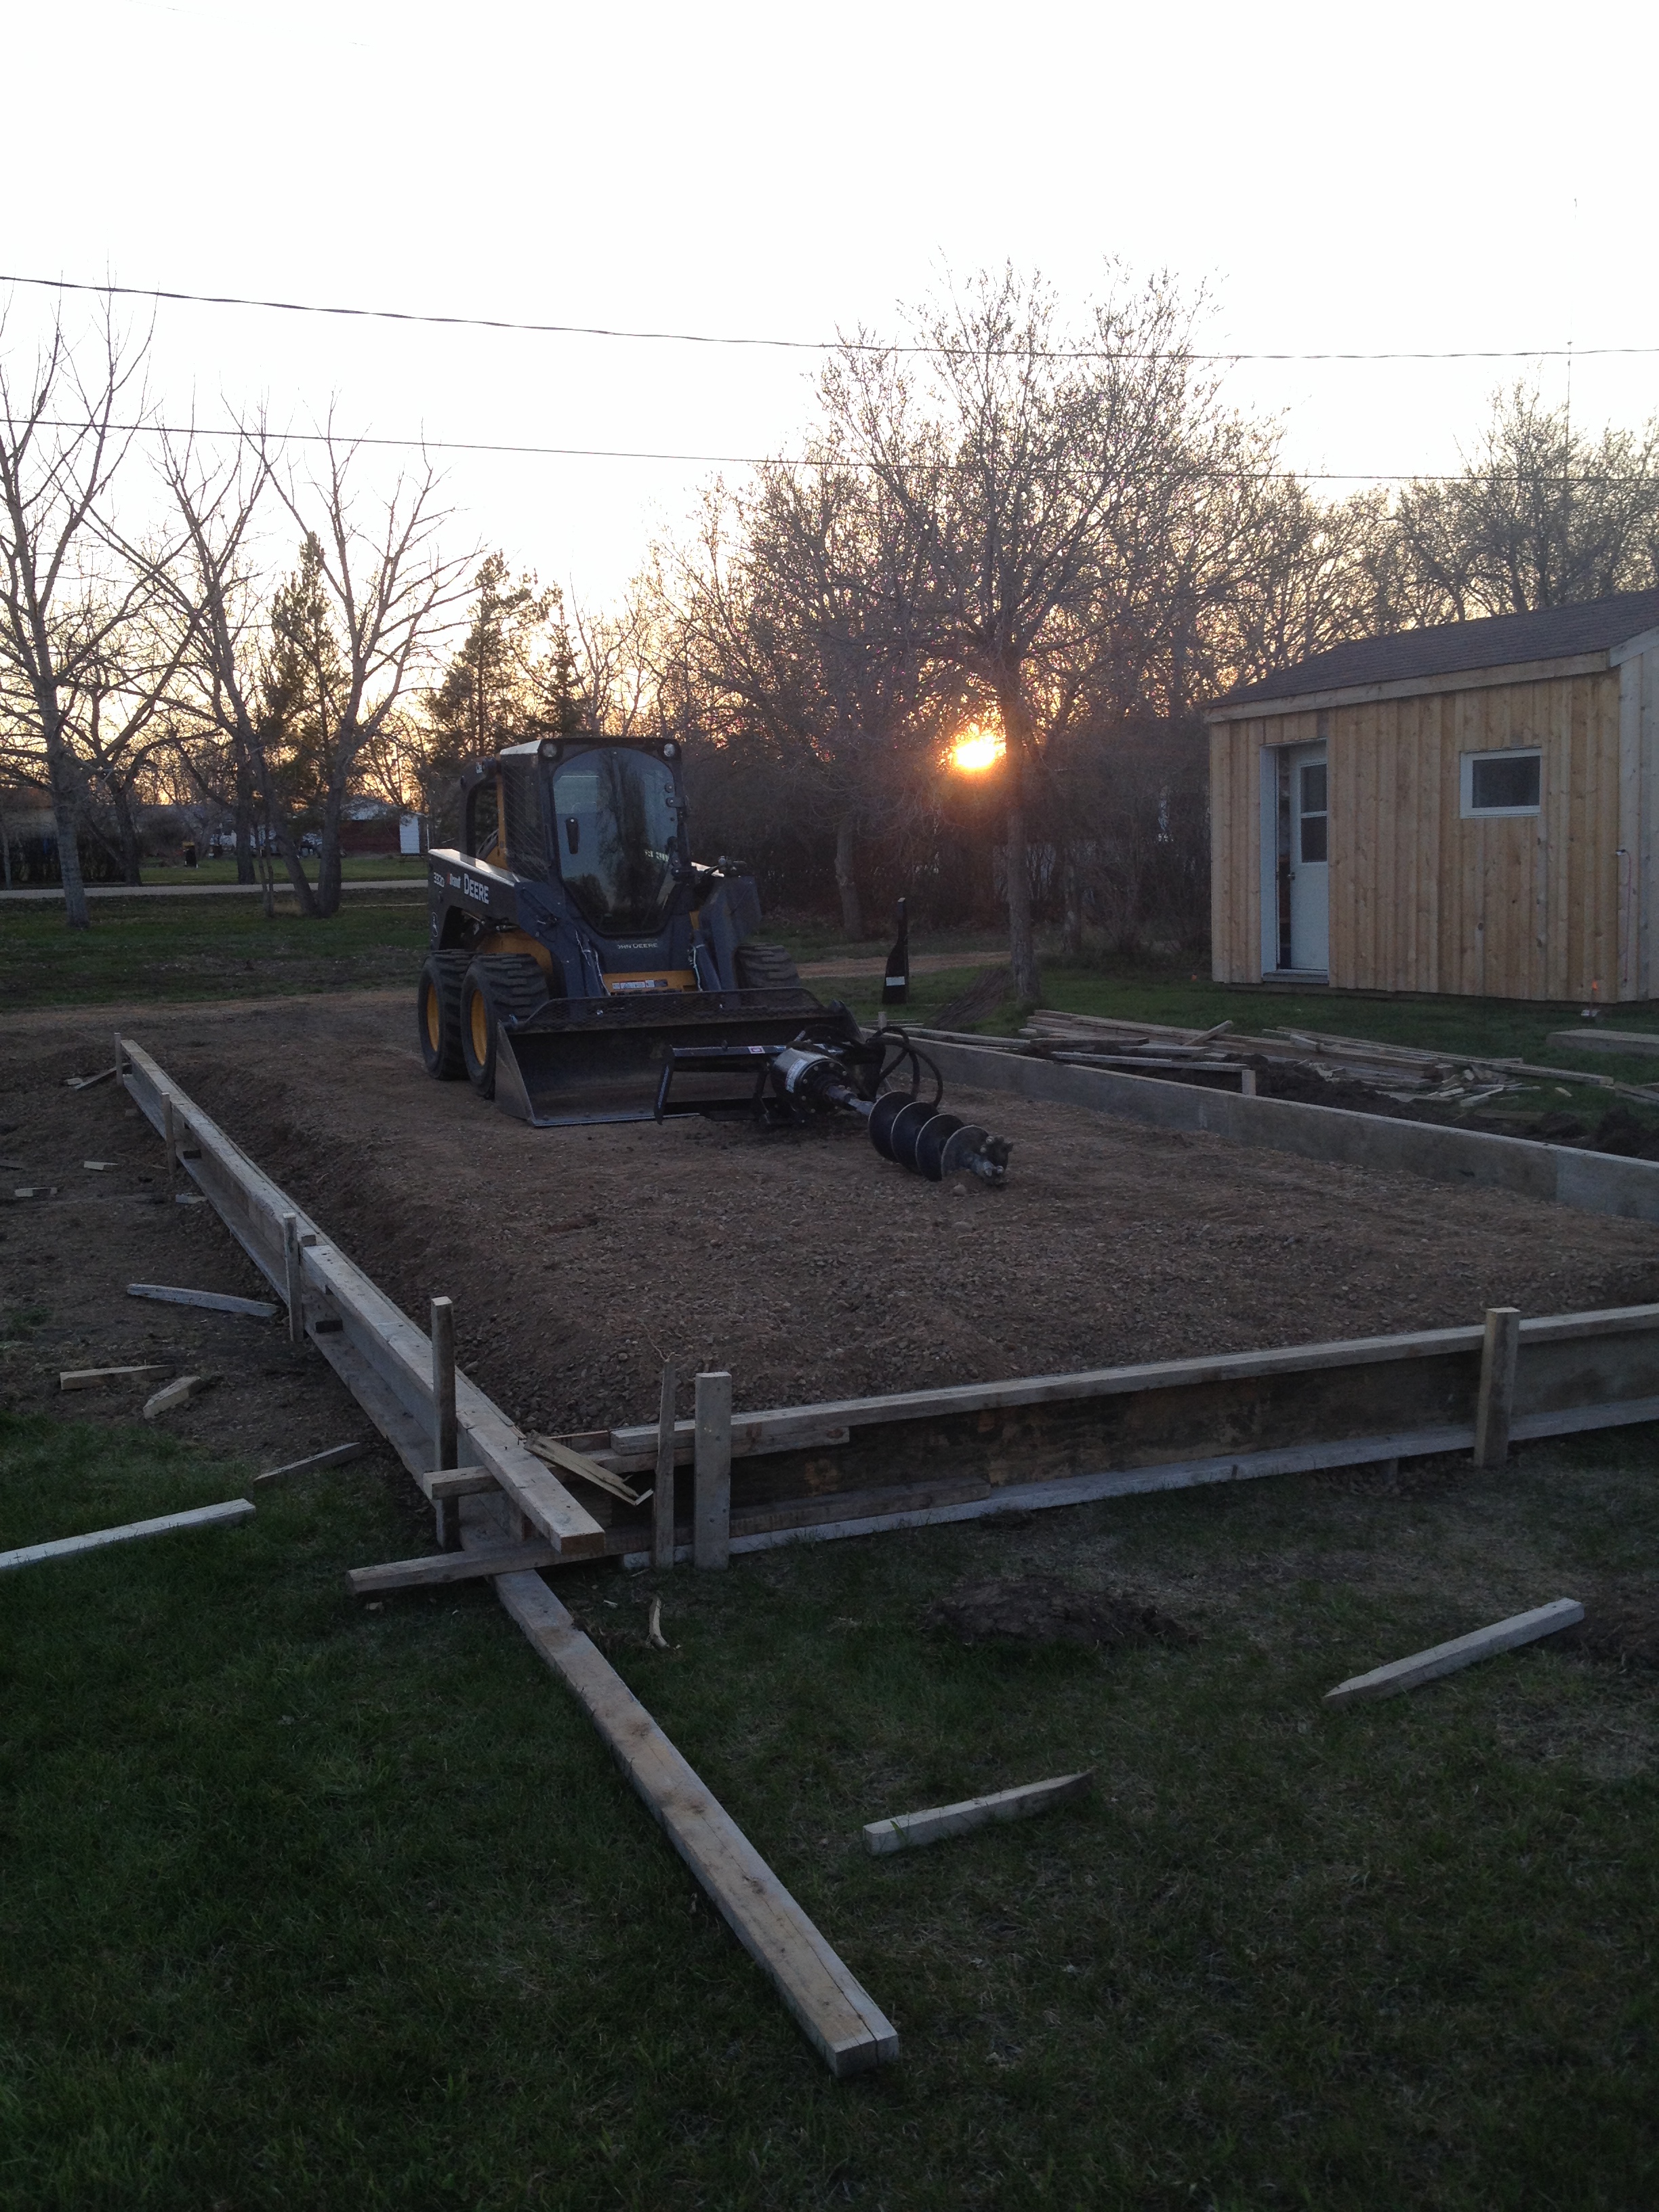
Waiting for the concrete:
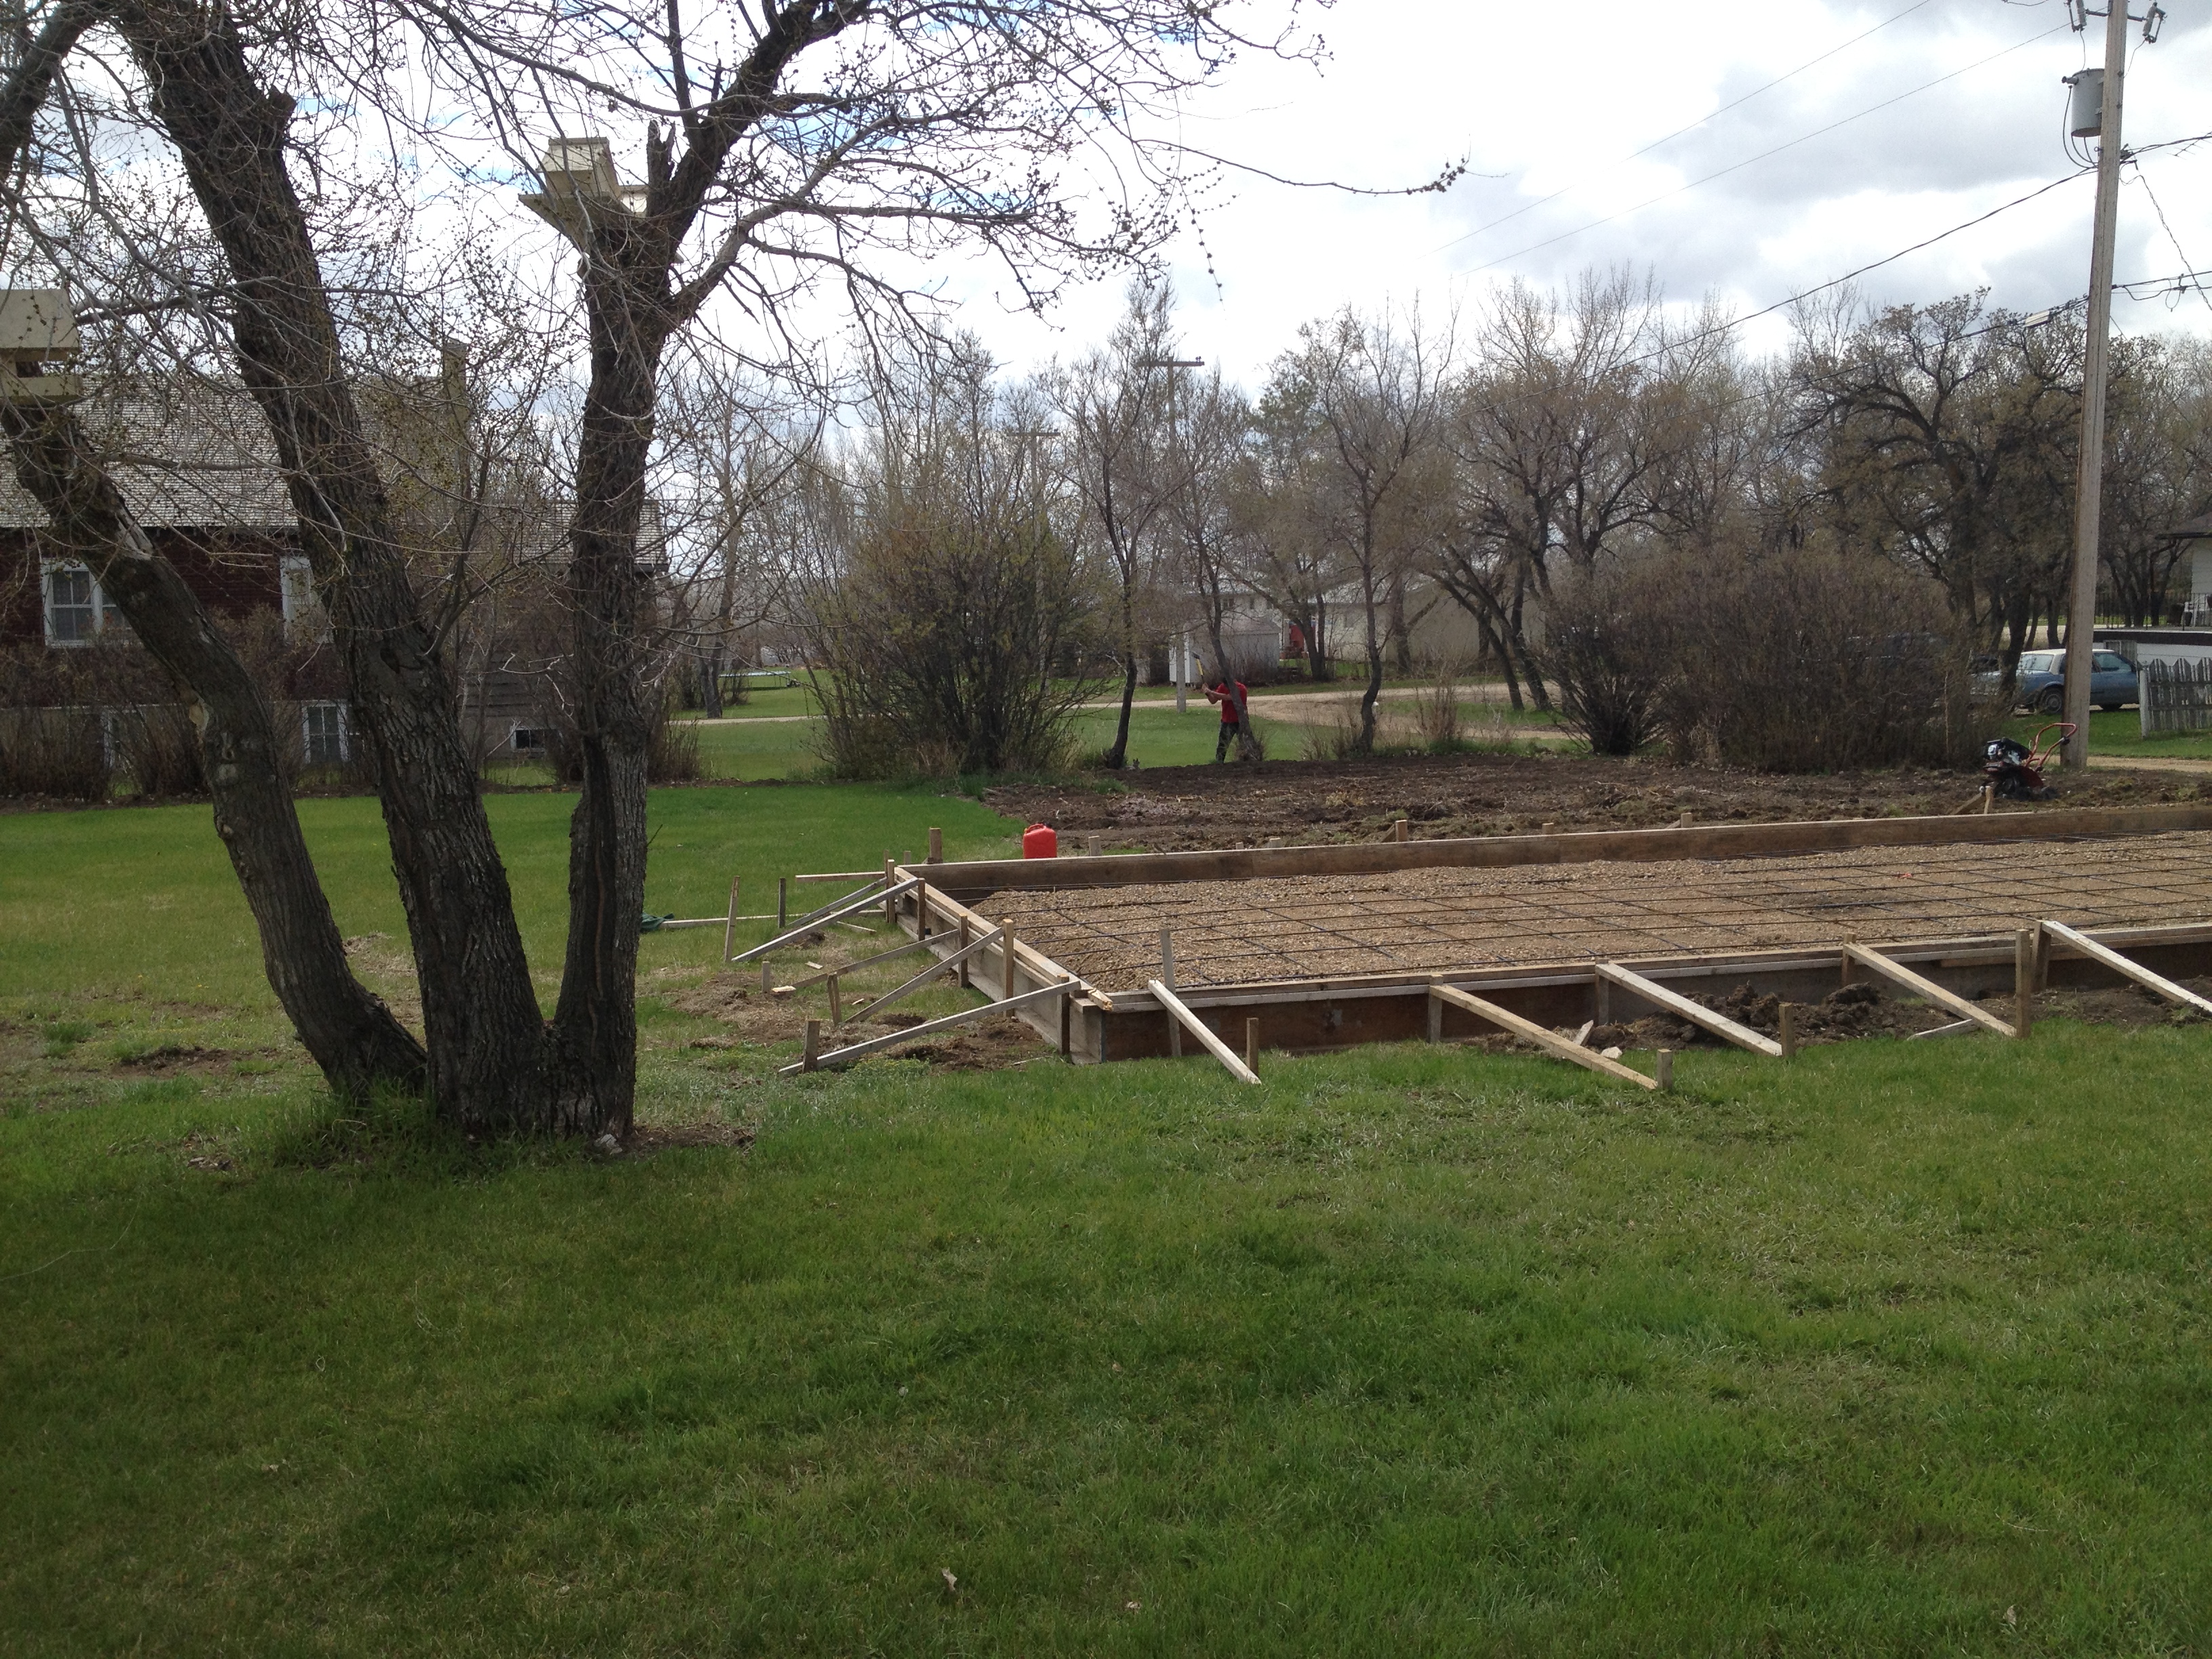
The finished pad.
Next: Baseplate connectors.
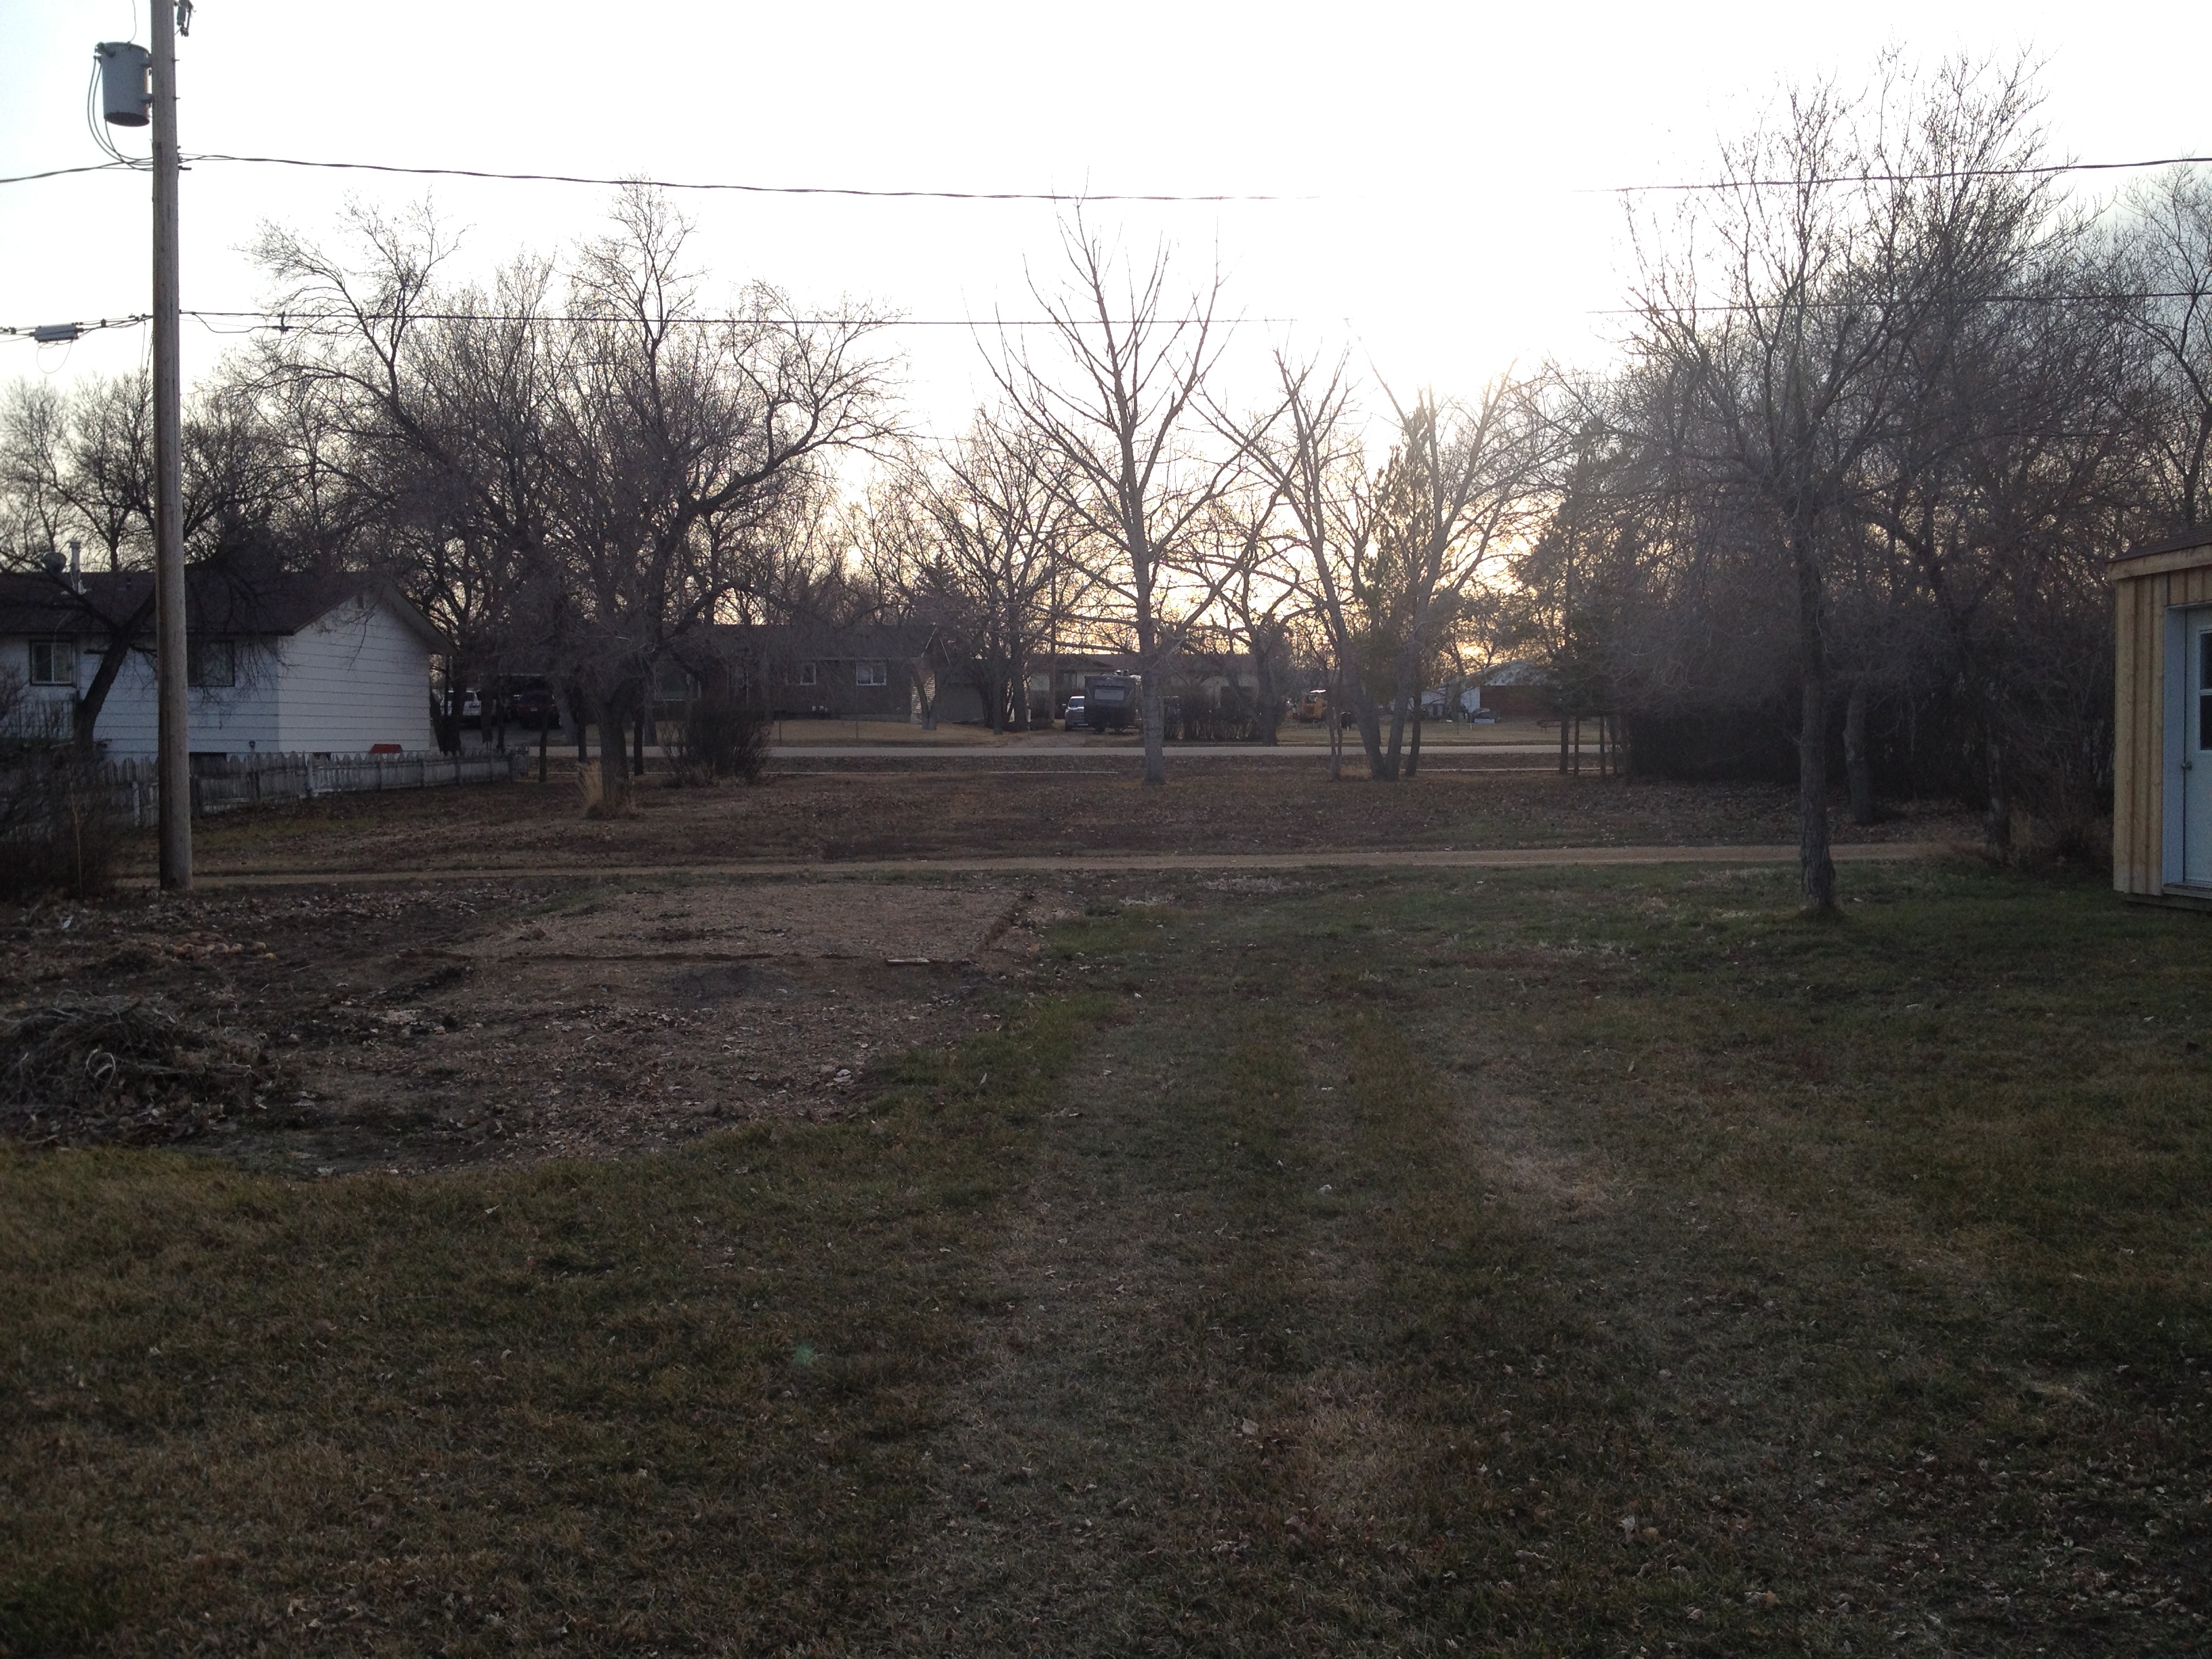
After waiting for what seemed like the entire winter, my Future Steel Garage went up in less than a week. This was the building site in February.

After the snow melted the building site looked like this.

Future Steel Buildings delivered the building to me at the end of April. I was impressed with how they were able to package a 16 x 40 building. It arrived on basically two pallets, one for the building, and one for the base plate connectors. Luckily, I was able to arrange with our local Co-op, the use of their forklift to lift the pallets off of the truck. Otherwise, I would have been responsible for lifting the building off of the truck piece by piece and by hand. This is what the delivered building looked like. It is hard to believe from looking at it that it would become a 16 x 40 building.
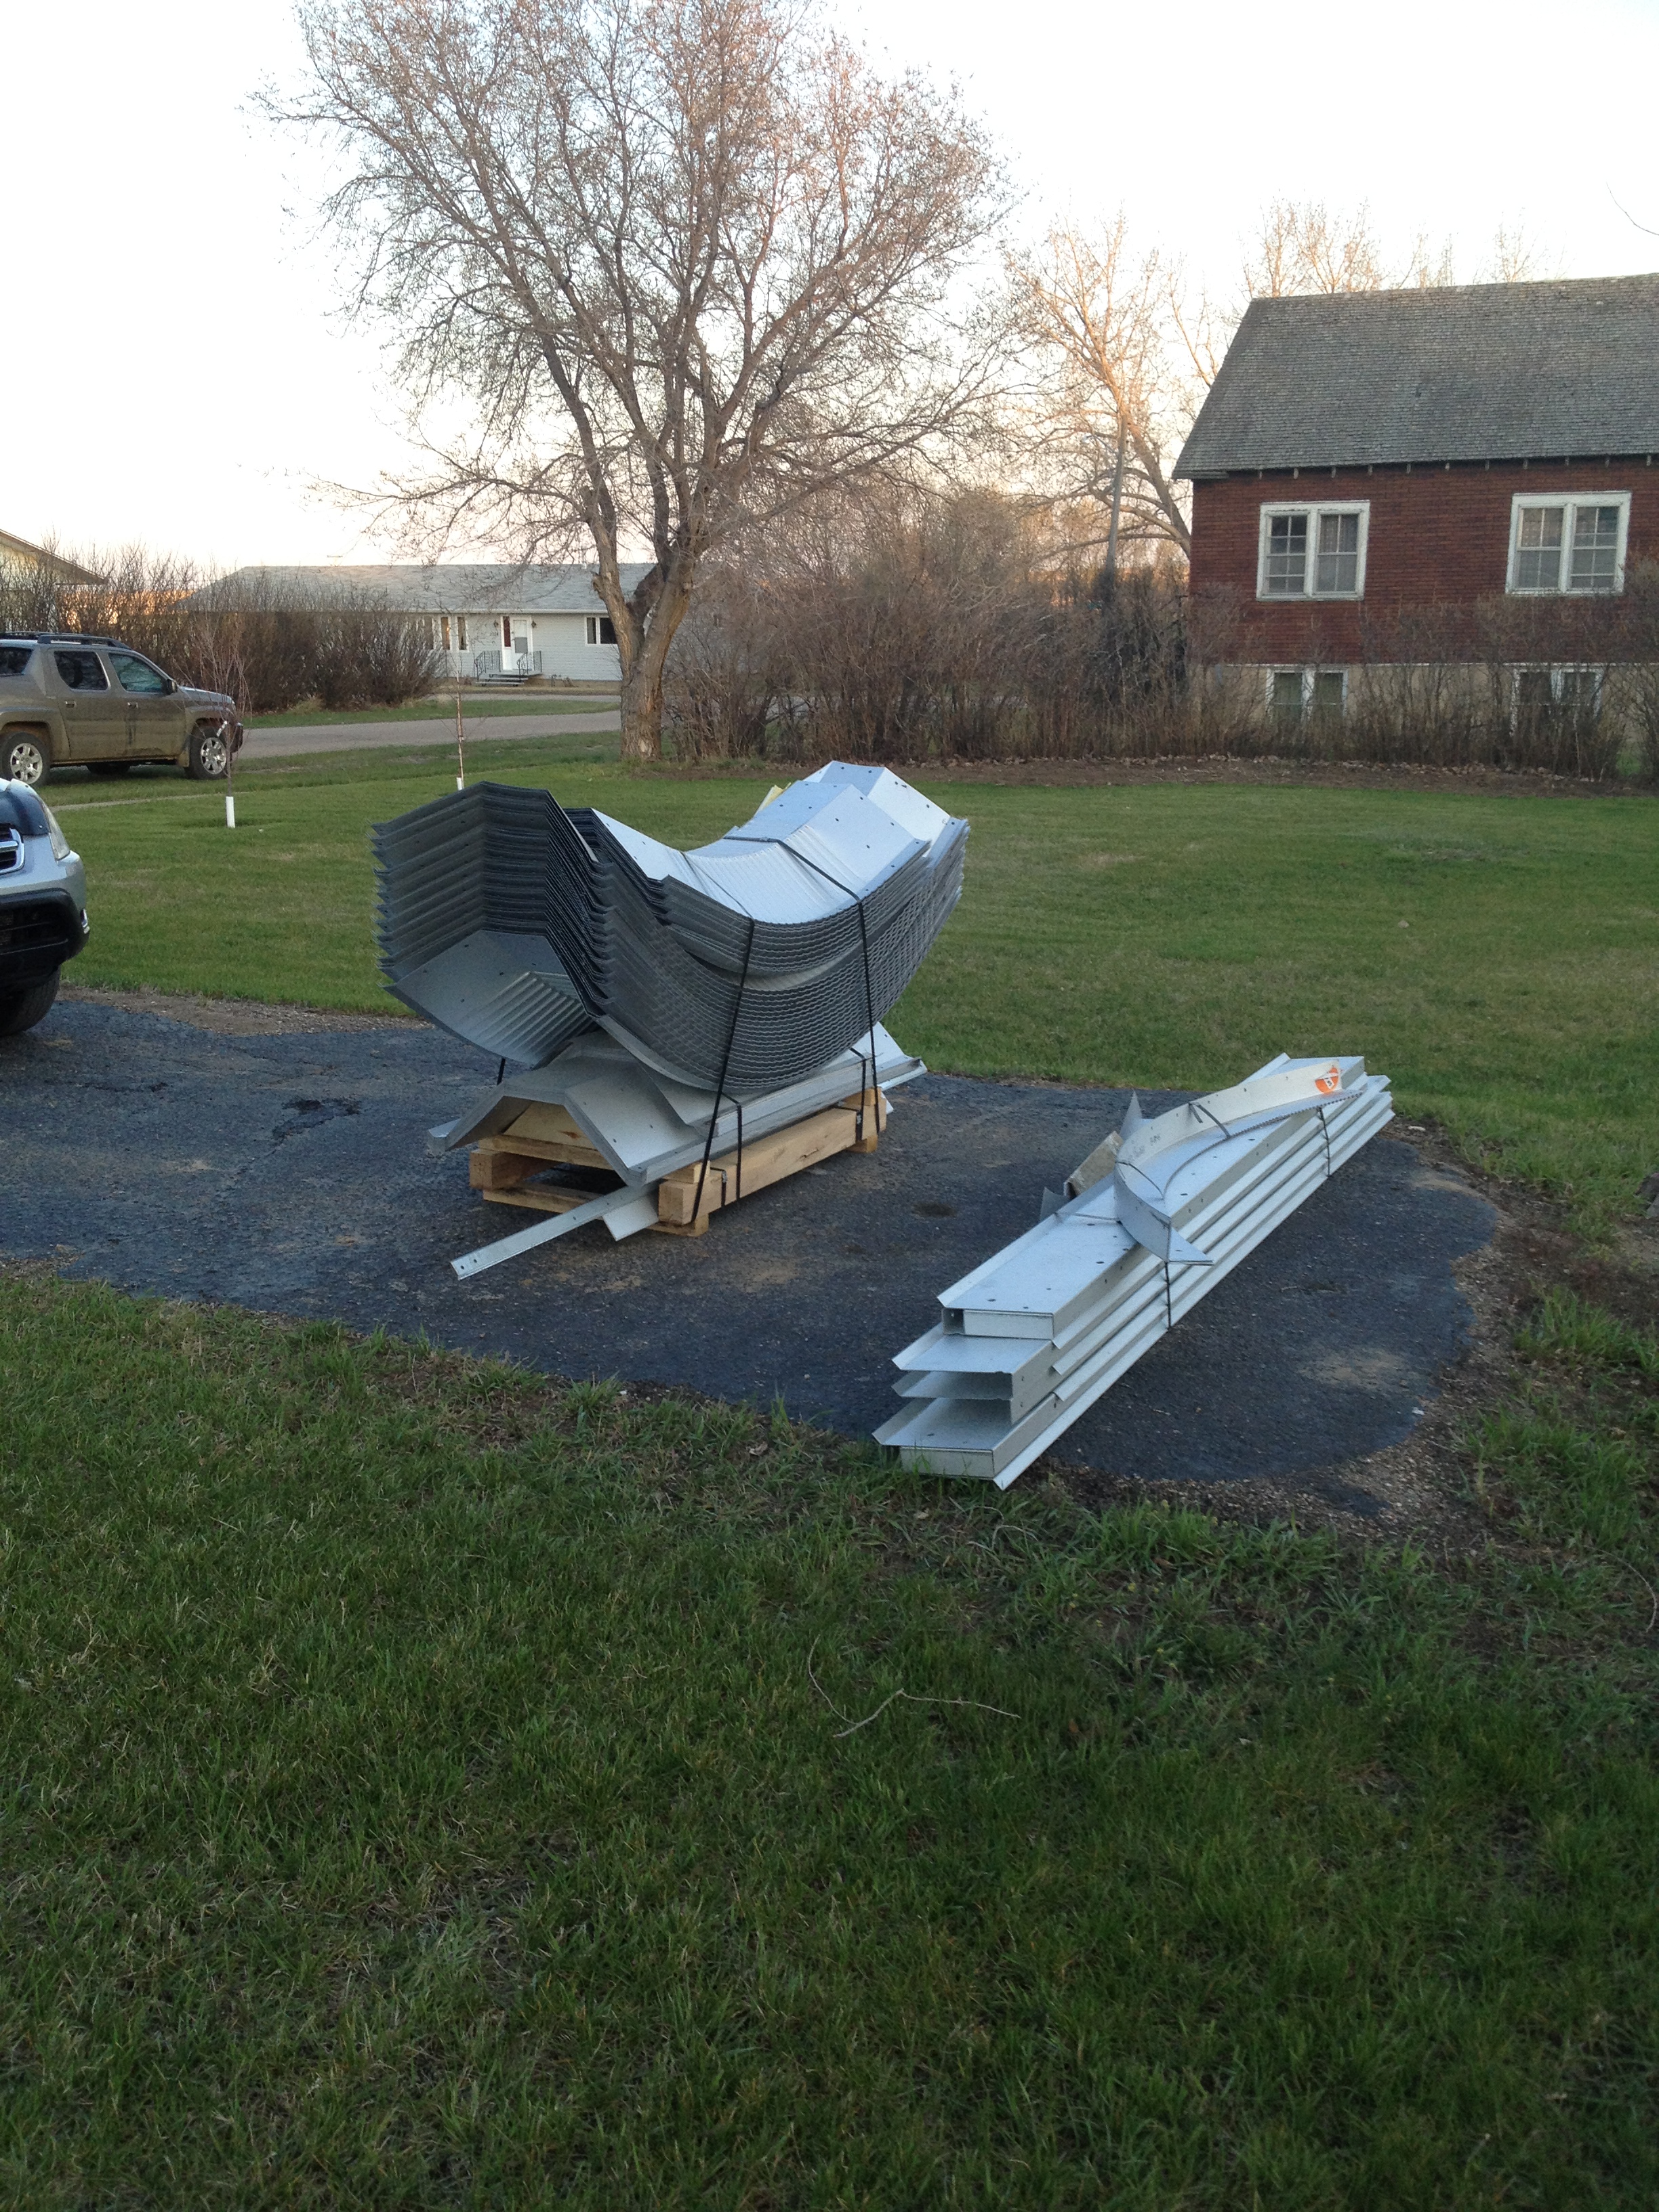
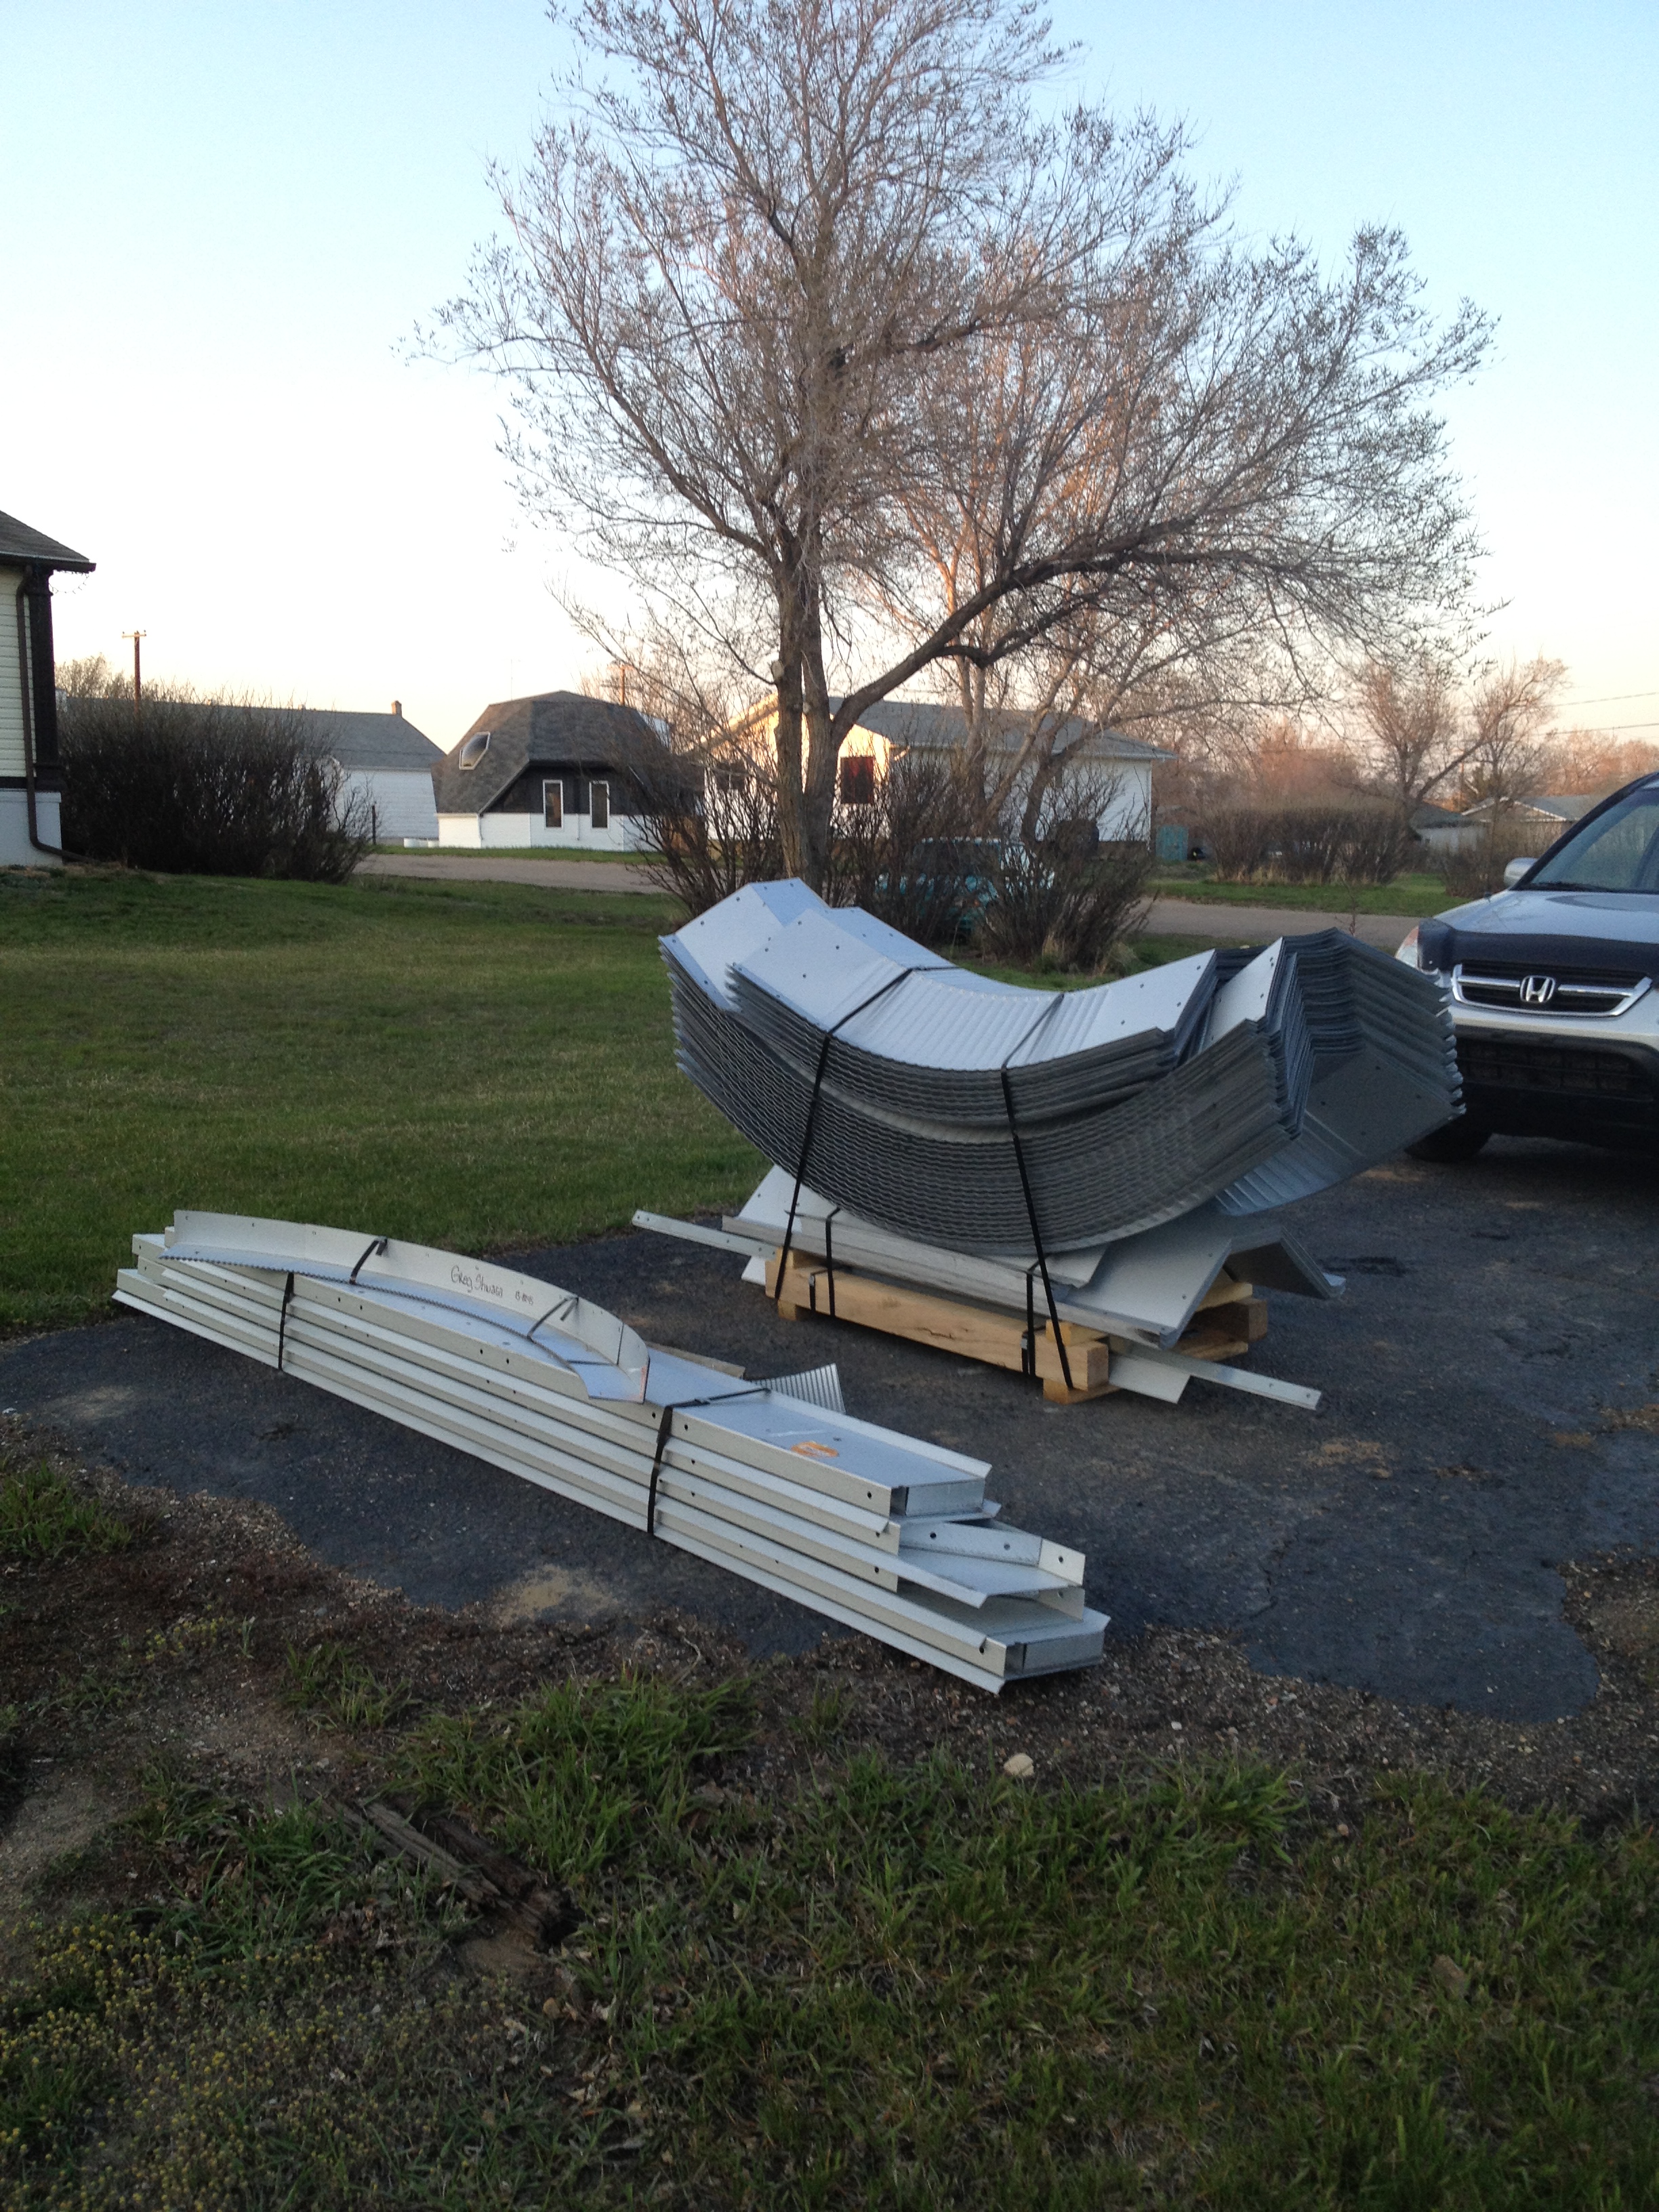
In all, the delivery process went well. There was good communication with Future Steel the entire time. They do give a deadline for when the building has to be delivered and that may or may not fit with a builder’s time frame, but in my case it worked. Also, the way the building is packaged is such that it can be stored for a lengthy time (provided you don’t have to disturb the packaging by hand lifting off of the truck. As you can see the factory strapping is still on the building after unloading).
One part of the delivery process that I was not a big fan of, is that the balance of payment is due by bank draft at the time of delivery. I understand Future Steel wanting payment before delivery, but there are a couple of problems with this method:
1. Bank drafts are a pain. I had to order my draft well in advance of delivery. It cost me extra to have the draft drawn up. Your bank account is debited immediately and if something happens to the draft you could essentially be out that money.
2. Given the time of delivery, there was no way I was going to open up the packaging to see if everything arrived. I had to “eye ball” it and trust that every piece was there. Future Steel does give some time to report if anything is missing (I think it is 60 days), but there was no way I was going to have the building up before that time expired. Fortunately everything was there.
I think it would be good policy to allow for a 5 percent hold back until the building is actually erected to ensure customer satisfaction (As an alternative I would have gone for a cash incentive for early payment). As I will write about later, I wasn’t terribly enthused about the skylights I ordered, but I had absolutely no recourse. This is a small detail though. Overall delivery and communication with Future Steel was excellent.
Next Up: The Foundation
Spring is here! Double digit plus temperatures have been with us for about a week, snow is melting and running away and geese are moving north for the season. No sign of songbirds yet though. Trees are still only full of the ever pesky sparrows. In another sure sign of spring’s arrival, my Toronto Maple Leafs, a team that has received my total dedication and loyalty since the age the age of four, has disappointed yet again. They are basically out of the play-offs after an uninspiring effort leading to a loss last night.
Time to cancel the cable television for the summer and start building I guess.
As far as my steel building project, I have contacted Future Steel Buildings. Delivery will be after April 14. I have decided to store the building in my driveway until the foundation is poured. I am hoping that the building can go up in the month of June, weather permitting.
There is not much else to report on at this time. Future Steel Buildings has been good to work with so far. They assured me that when the building arrives, that I could contact them at any time for help in the construction process.
There is not much else to report on at this time. Hopefully by my next post, the building will be here.
Well, there is not much news to report this week. Spring is coming quickly to South West Saskatchewan. We went from -41 degrees Celsius on March 1, to 12 degrees less than two weeks later. Fortunately, I would say our snowfall this winter was average to good, but not extreme, otherwise there could be tons of water and flooding issues with the melt happening this quickly. It still could happen, but I am not anticipating the flooding that happened two years ago.
In terms of building, I contacted Future Steel Buildings to arrange a date for delivery of my building. I misunderstood here, thinking that it was up to me to arrange a delivery date. It turns out, that was only if I wanted to take early delivery of the building. Future Steel does offer a 50 dollar incentive in the form of a gas gift card to anyone that can take early delivery. I guess it helps them to move out inventory and clear up floor space in their warehouses. Unfortunately I could not realistically have the building delivered in March with spring barely emerging. Delivery would have to be in April. I would have even preferred to have it delivered after I have the foundation done but that can’t happen without incurring further charges.
So for now, I am in a bit of a holding pattern. There are a couple of decisions I have to make in the coming week:
1. How do I want to finance the remainder of the building? Future Steel wants payment by certified cheque or bank draft upon delivery. Since I deal with ING direct, it might take a little while for a draft to arrive.
2. I have to decide if I want to install Flextherm’s Green Cable Concrete. There are no local dealers for this product. I would have to order it from Regina and even at that it might take a bit of time to arrive. I am anticipating (hoping) that the foundation will be done in May
3. Storage – Future Steel informed me that my building will arrive on two skids that will take up 4 X 12 X 3 cubic feet of space. They said that it could be stored on a deck and covered with a good tarp. I am going to double check again to make sure that our deck will hold up to that much weight. My first reaction was “no problem” but then it hit me that that is the entire building on my deck. Double checking is a good idea.
I am a teacher by trade, and am blessed to be able to have meaningful work to do on a daily basis. Having grown up on a farm however, I am looking forward to the physical nature of this project while at the same time sharing (and teaching) my story.
Fortunately, today the weather turned and it was a pleasant 8 degrees Celsius outside. Spring is coming and so is the building. My understanding is that I have to have at least four people to help me unload the thing and also a certified cheque ready to pay the driver the balance of what I owe.
Unfortunately, I will have to store the building outside until I can actually work on it. That will take some time. I would prefer to have it stored inside, but then again, if I had a building in which to store my building, then I wouldn’t need a building.
I also contacted Mr. Joel Funk from Strong Built construction in Wymark, Saskatchewan. He will be coordinating the the pour of the concrete pad foundation. This will hopefully take place early in May, when the ground is thawed and construction can commence.
I am toying with the idea of putting in floor heating but having a boiler/manifold system seems to be a little complex for my liking. I have found another system however that simply employs electric heating cable (instead of hoses) embedded in concrete. Made by a company called Flextherm in Quebec, the product is called Green Cable Concrete. Here is a link to the company’s website:
Flextherm – Green Cable Concrete
Does anyone have any experience with this product? Your feedback would sure be welcome.
This project is heating up; just like the weather.


No going back now!
Once you order your building from Future Steel Buildings, an agreement is signed and you are asked to place a deposit using a credit card. Although I understand the reason, this part of a transaction has always been a bit disconcerting for me. Your credit card is billed but the product you are purchasing is months away from being delivered. Anyway, with that done, I jumped into this building project with both feet. A few days later, this arrived in the mail:

So with pieces of a steel structure that will become my garage/shop to be here in April; it was time to decide upon a foundation!
The default foundation for a Future Steel Building of this type, is a basically a concrete footer around the perimeter that is 8 inches wide and 18 inches deep. Along the length of the building, the footer is poured with a “u” channel into which the steel arches are placed. The arches are then anchored inside the channel using angle iron every two feet and then grouted over top. Inside the perimeter of the foundation, your floor can be anything from dirt to crushed rock or pea gravel, or, you can pour a concrete floor later.
I don’t think so!
While certainly cheaper, I could see within about five minutes, that this is not the foundation that I wanted. First off, I think building the forms for the “u” channel would be a pain. Secondly, grouting over top of the steel arches would effectively make the structure permanent, and I wanted the option of moving the building if need be. Third, any mistake or miscalculation here means the building doesn’t go up straight and true. Fourth, it seems to me that any mistake or breakdown in the grouting means that water is going to get into your building and I don’t want that. Finally, this option still left me without a floor.
So, after some, but not much deliberation, I called Future Steel Buildings and told them that my intention was to put this building on a concrete pad. To do this, I also had to order the portable steel base plate connectors. This was an extra cost; however, I feel that this is a much better foundation option for a steel arch structure. Basically, the steel base plate connectors bolt to the concrete pad along the length of the building. The steel arches of the building then fit and bolt to the base plate. Water can’t get into the building because it can’t get past the plate. Also, the plates are engineered to fit the arches so theoretically, if I put the plates onto the concrete pad properly, the building should go up straight and true. Also, theoretically, if I want to take down the building, I just have to unbolt it from the plate, and unbolt the plate from the pad. True, if that ever happens the concrete pad is a waste, but the way I see it, concrete is gone as soon as it hits the ground.
I spent a few days thinking and researching into excavating and pouring the pad myself. After all, I grew up on a farm and had done some concrete work as a kid pouring pads for grain bins and so on. I was feeling confident that I could accomplish this, when my step dad told me that I was crazy. He suggested that I find someone that was “good” at concrete work (obviously pointing out that I am not) and make sure that it gets done properly. Given that I don’t have any excavating equipment and the time that it would take for me to do the prep work I decided to take my step dad’s advice; a concrete pad formed and poured by a professional it is (cost is going up!).
A couple of items I had to check before starting my building project were the by-laws and building codes of the town in which I live. In some places you won’t be able to put up a steel building as a result of various municipal laws. By the way, I should point out that I also know of one town in my area that has no by-laws against steel buildings, but does have certain restrictions on traditional stick frame buildings. Go figure!
I placed a call to our town office and thankfully was told that there were no restrictions on steel buildings or size of buildings. The only by-law in effect is one that prevents building three metres from the street. I can live with that.
Here is a picture of the building site as it sits now:
![IMG_4457[1]](https://backyardbuildingblog.com/wp-content/uploads/2014/02/img_44571.jpg)
Next up is to decide upon a foundation.
As always, I welcome any comments that might be helpful to me with this project.
Winters in Saskatchewan are long and cold and in our part of the province insanely windy. That often makes for days like this. You can imagine what that kind of weather does to vehicles sitting outside and to the people having to shovel them out and scrape them off after every snow storm.
Well, I had had enough. On December 31, 2013, I made a New Years resolution to build a garage. I had researched the various types of buildings over the previous year, and had decided upon a steel building for the following reasons:
1. Ease of construction (supposedly)
2. Low maintenance
3. Portability (I can take the building down if I need to)
4. Strength and durability
5. The environment (Steel is recyclable)
I called Future Steel Buildings and a man by the name of Travis Blackmore called me back with a “deal” on a 16 x 24 building. I say deal with some trepidation because it always seems like there is some deal to be had with Future Steel buildings. Quite often it seems some building or another has been cancelled by a prospective buyer and is then resold at a discount. Such was the case when I called Future Steel. Nevertheless, I took the jump and ordered the building.
Within the next couple of days, I tinkered with my order. I decided to extend the building to 40 feet, add insulation, and also add a base plate connector. Future Steel was accommodating and helpful and engineering drawings arrived within a few days. All of these features essentially doubled the cost of the original building.
With that my journey to build a garage began. Over the next few months, I would like to try and document the process of this building going up. Hopefully this will serve as a guide to anyone else considering a steel building, and also serve as customer review of the various businesses involved in this project, including Future Steel Buildings.
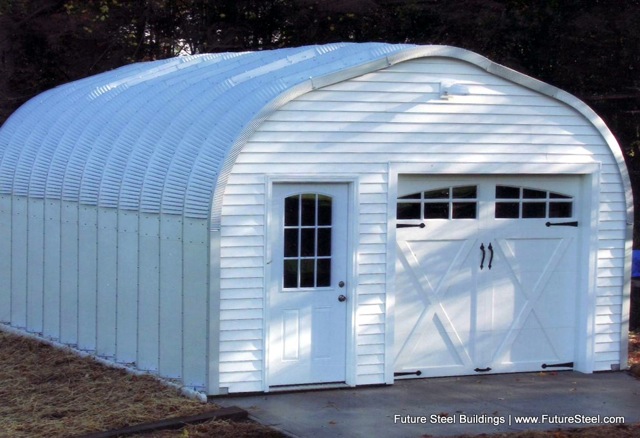
I wonder if it will look like this:
If you have any comments or advice, please feel free to post.

